Showing posts with label diy gifts. Show all posts

Friday, November 30, 2012

Monogram Ornaments

I wanted to send my friends ornaments instead of sending Christmas cards this year.  I also wanted them to be personalized and relatively inexpensive to make.  This is what I came up with! If any of my friends are reading this just pretend to be surprised when you get it :)


Here is what you will need: wood letters, yarn, hot glue gun, something to screw into the letters, power drill, ribbon


How to make:
1: Drill a hole in the top of the letter
2: Insert screw

3: Wrap yarn around the letter.  This part seems like it would be really easy but there are a few letters that are tricky.  For those tricky corners I cut smaller pieces of yarn and glued them directly to the letter and then continued to wrap.  Make sure to plan it out before you dive in!


I can't wait to wrap them up real cute and send them out! (preview of the next post)


Sunday, January 29, 2012

Shipping in Style


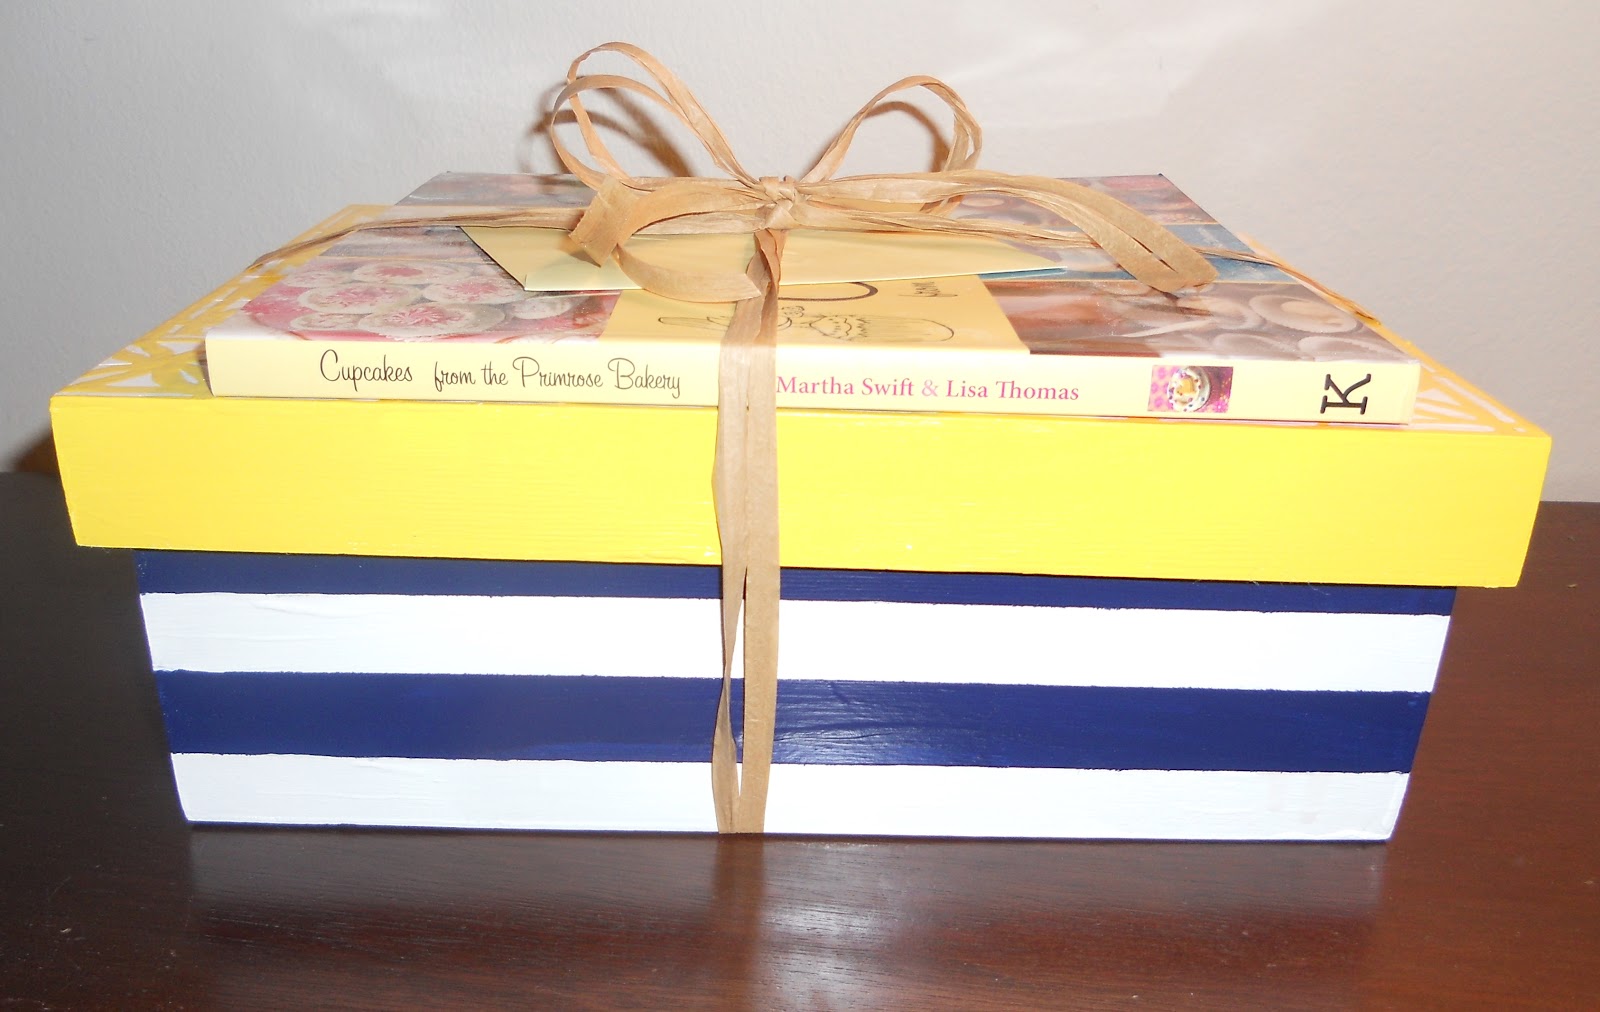
I made a trip out to Des Moines a few weeks ago to visit an old friend.  I wanted to send her a special thank you for being an amazing host.  She just got a new apt and loves cupcakes.  So I got her a few coffee mugs and a cupcake cookbook.  But I wanted to do something a little extra so I went ahead and made her this personalized box to ship it in.

I started with a naked wood box from Michael's. I then painted the whole thing white.  I used painters tape to get the lines perfect and filled them in with navy glossy acrylic paint.  I then used a Martha Stewart stencil for the top and free handed the "J."


 I hope she enjoys using it as much as I did making it!

I added a little personalization (too bad that Ralph Lauren guy beat me to RL)!


Tuesday, December 7, 2010

Beer Cap Tray

Beer caps are fun, different and unique.  So, why not display them?  Here is how!


Below is a step by step tutorial on how to make this beer cap tray.  This would probably work with a coffee table as well. 

  • Step 1: Start drinking :)  Try to take the caps off so there is not to much damage.
  • Step 2: Start with a naked wood tray.  They sell these at Michaels (very cheap).
  • Step 3: Paint or stain the tray.  I used a maroon paint on the bottom and a dark stain for everything else.  I had this left over from other projects, but this is where you can really customize your tray. So have fun with your colors!
  • Step 4: Once the paint is dry you can use a gloss/varnish to make it look nice and polished. Not the best picture below but it should give you an idea of the process. 
  • Step 5: Once it is totally dry (probably a day or two) you can start gluing the caps down.  I suggest laying out out how you want it to look first. I chose to keep mine all different but you can easily make a pattern of a letter with the right color caps.  I used a wood glue (pictured below) from Michaels. 
  • Step 6: Time to pour on what I call liquid glass.  It is actually a 2 Part Epoxy Resin (picture below), from Michaels.  When it dries it looks just like glass!  Follow the instructions on the box for mixing and application.  When pouring make sure not to pour too much at once. Make sure it covers all the caps with a little extra on top.  Also, to be safe I put painters tape over the holes on the side (this will keep excess from spilling over).  Keep the tape on until it is totally dry. You may also get a few air bubbles.  Just put a flame from a lighter over them and the heat will make them go away. The bubbles will happen in the first 20-30 minutes.

  • Step 7: Wait for the liquid glass to dry.  This is the tough part because it requires patience!  It will take about 2 days.  I suggest covering the tray with a box while it is drying so that debris does not get into the mix.  
  • Step 8: ENJOY!  You are sure to get lots of compliments :)